Newbies wanting to buy luxury apartments for the first time, how to choose one that is worth the money spent? Regardless of location, amenities, safety and personal preferences. In this article, we will introduce things that...
Languages

Home
Post date: Friday, April 19, 2024 - 15:06


Post date: Monday, April 8, 2024 - 10:46
Choosing the right international school for your child is a crucial decision, especially when navigating the diverse educational landscape in...

Post date: Monday, December 25, 2023 - 11:30
Thailand, renowned for its rich cultural tapestry and breathtaking landscapes, is also gaining recognition for its educational prowess, particularly...

Post date: Monday, September 11, 2023 - 15:00
The cost of attending an international school in Bangna, Thailand can vary widely depending on several factors...
Post date: Tuesday, July 11, 2023 - 15:41
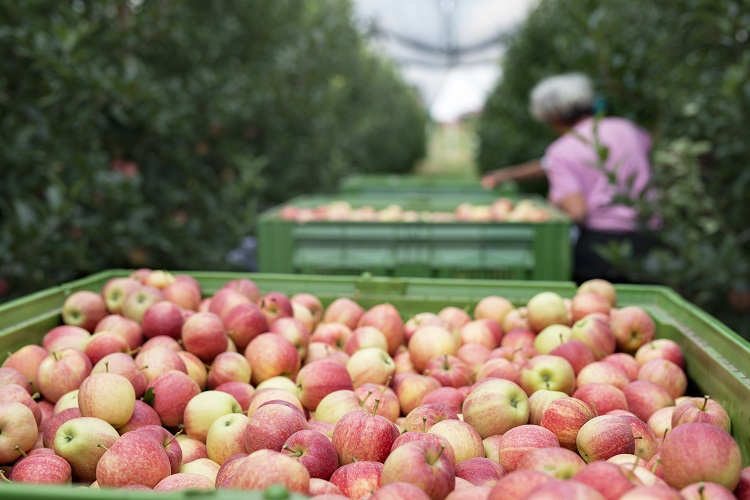
Apple in Poland are a significant agricultural product and Poland is one of the largest apple producers in...